Post by Mofo on Aug 22, 2012 15:10:56 GMT -7
This has been a crappy, crappy summer for model building. A bunch of things have conspired to keep me away from the workbench. Buuuut, a recent delivery and some free time gave me the inspiration needed to do a little work. Nothing very impressive, but it's a start.
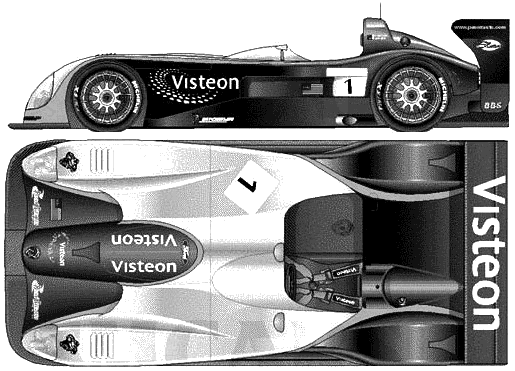
Provence Moulage Panoz LMP-1. Le Mans car from the early '00s. (yeah, it's becoming a theme - what can I say, I love the looks of these sport protos). I've wanted to do an Panoz roadster for a while just because it's such a neat looking car (and STILL want to do the LMP07 with the cool snorkel nose). Not terribly successful, but it IS fairly unique in being a front engined LMP. Kinda reminds me of a Batmobile.

I'm torn on the markings at the moment. The kit decals are for the Danish racing team Den Bla Avis. I've got another one of their cars from a subsequent Le Mans race, but I'm not crazy about this scheme. I'm tempted to build the car raced in the livery of "LEADER", the villain in the Michel Vaillant comics (and movie). Simpler markings, simpler paint, and aggressive looking.

Again, it's a 1/43 multimedia kit. Resin body, some PE details, turned aluminium wheels, vac plastic for the light covers, etc.
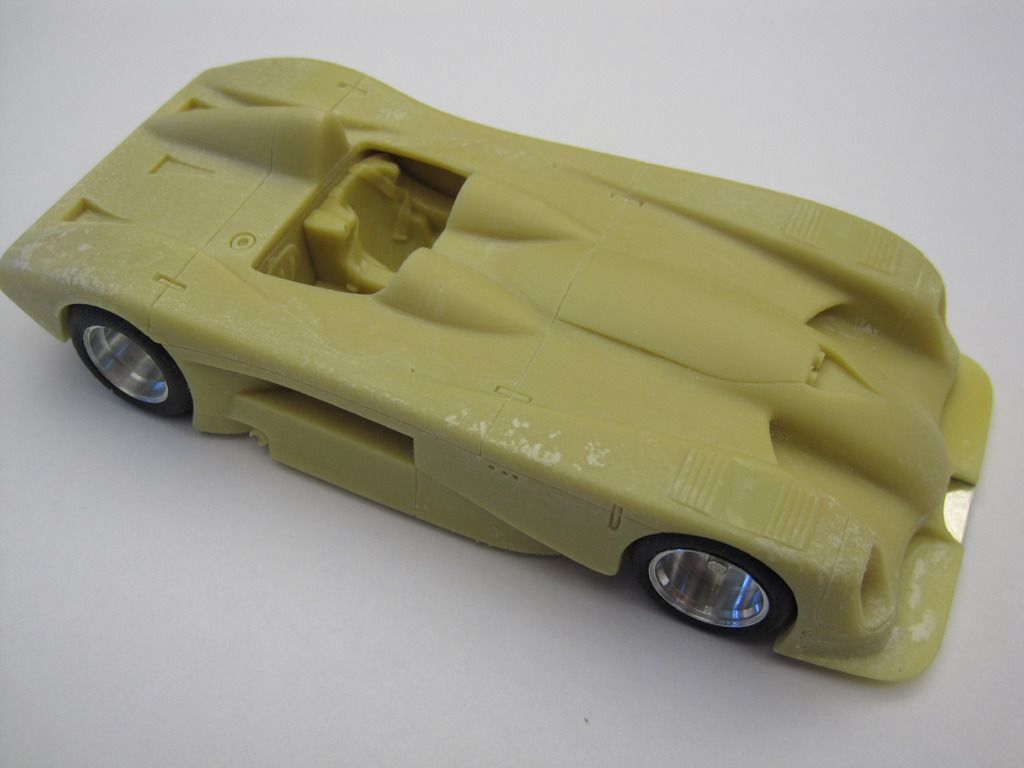

Castings are nice, though the cockpit can be improved. The one thing that stuck out was the splitter in front of the nose. OOB, it seemed too thick, and the PE piece just sat flat over the cut-out in the middle. As you can see here, that's not really the way it should be:

So... I stacked some sandpaper on a piece of sheet styrene to set the appropriate depth and sanded down the bottom of the splitter. Then I over-sanded one side, and back-filled with polyester putty.

When I re-sanded that smooth and level, I dropped the car on my toe, breaking three chunks of resin off the nice, thin resin splitter. Yay. The resin bits were pieced back together on a piece of clingfilm laid over some styrene sheet (to fill the newly sanded "gap" under the splitter), glued up and sanded smooth. Fun little diversion, and I hadn't actually even started doing the actual bit of assembly I was keen on starting!
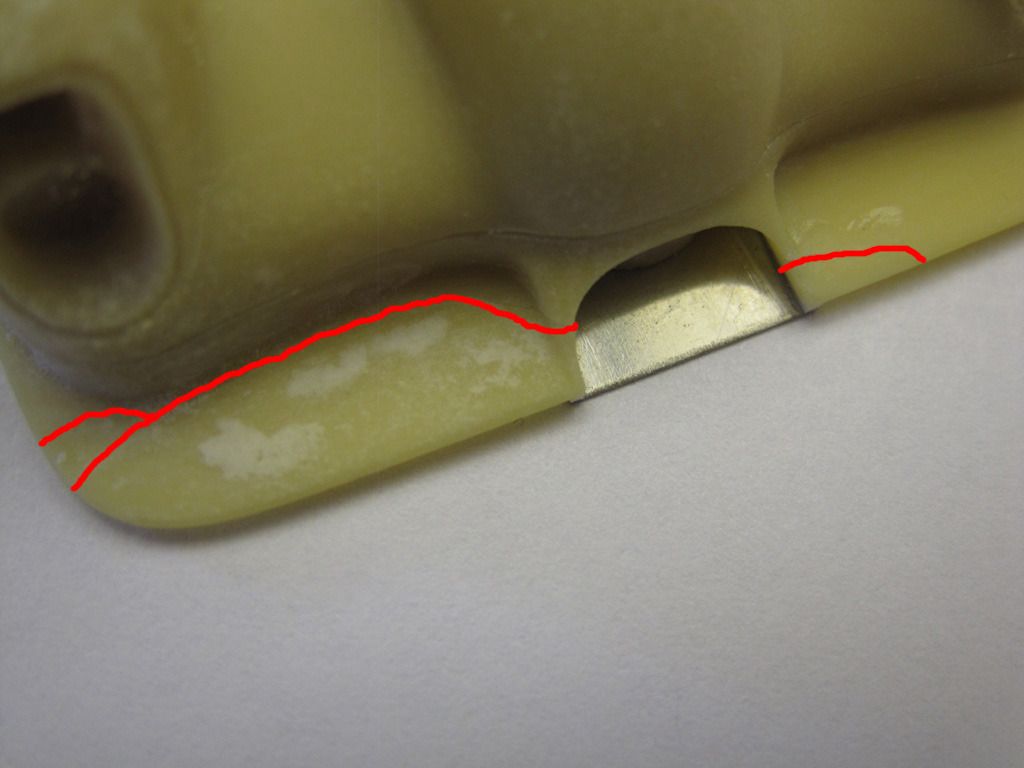
As I said, the PE centre section just mounts flat to the bottom of the splitter. Not great. My solution? Glue some .020 square stock to the edges of the cut out, then mount the PE under that. A little tricky getting everything square and flush when zapping it in place with CA, but not too hard.

It now looks appropriately "lowered" and more like the real thing.

Checking the height with the wheels:
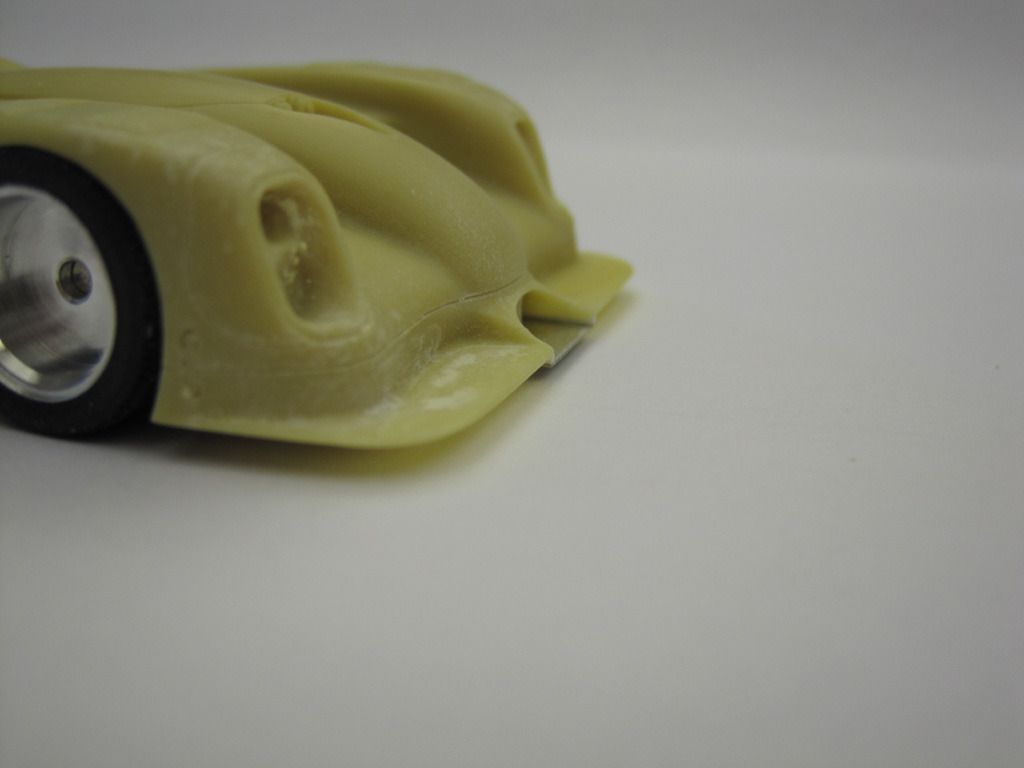
Next up, I can start working on the thing that goes inside the cut-out: some sort of radiator(?). Oh, and fun side-note, there's a small tab on the kit's floor pan that fits into the cut-out. I guess it's meant to depict the radiator, but it looks crap. It also means that you have to fit the floor pan in place before you attach the PE bit. Which I discovered *seconds* after attaching the PE bit. Out came the razor saw to fix more problems I'd caused. I also discovered it's a really snug fit, and that I actually got pretty lucky shimming the splitter insert down.


Not the most elegant modelling session, but still, it felt pretty good.

Provence Moulage Panoz LMP-1. Le Mans car from the early '00s. (yeah, it's becoming a theme - what can I say, I love the looks of these sport protos). I've wanted to do an Panoz roadster for a while just because it's such a neat looking car (and STILL want to do the LMP07 with the cool snorkel nose). Not terribly successful, but it IS fairly unique in being a front engined LMP. Kinda reminds me of a Batmobile.

I'm torn on the markings at the moment. The kit decals are for the Danish racing team Den Bla Avis. I've got another one of their cars from a subsequent Le Mans race, but I'm not crazy about this scheme. I'm tempted to build the car raced in the livery of "LEADER", the villain in the Michel Vaillant comics (and movie). Simpler markings, simpler paint, and aggressive looking.

Again, it's a 1/43 multimedia kit. Resin body, some PE details, turned aluminium wheels, vac plastic for the light covers, etc.


Castings are nice, though the cockpit can be improved. The one thing that stuck out was the splitter in front of the nose. OOB, it seemed too thick, and the PE piece just sat flat over the cut-out in the middle. As you can see here, that's not really the way it should be:

So... I stacked some sandpaper on a piece of sheet styrene to set the appropriate depth and sanded down the bottom of the splitter. Then I over-sanded one side, and back-filled with polyester putty.


When I re-sanded that smooth and level, I dropped the car on my toe, breaking three chunks of resin off the nice, thin resin splitter. Yay. The resin bits were pieced back together on a piece of clingfilm laid over some styrene sheet (to fill the newly sanded "gap" under the splitter), glued up and sanded smooth. Fun little diversion, and I hadn't actually even started doing the actual bit of assembly I was keen on starting!

As I said, the PE centre section just mounts flat to the bottom of the splitter. Not great. My solution? Glue some .020 square stock to the edges of the cut out, then mount the PE under that. A little tricky getting everything square and flush when zapping it in place with CA, but not too hard.

It now looks appropriately "lowered" and more like the real thing.

Checking the height with the wheels:

Next up, I can start working on the thing that goes inside the cut-out: some sort of radiator(?). Oh, and fun side-note, there's a small tab on the kit's floor pan that fits into the cut-out. I guess it's meant to depict the radiator, but it looks crap. It also means that you have to fit the floor pan in place before you attach the PE bit. Which I discovered *seconds* after attaching the PE bit. Out came the razor saw to fix more problems I'd caused.
 I also discovered it's a really snug fit, and that I actually got pretty lucky shimming the splitter insert down.

Not the most elegant modelling session, but still, it felt pretty good.


